 Add to Chrome
To set up a Programmatic Guaranteed (PG) deal in DV360, you have two options. The first is for the publisher to push the deal directly into your partner account, and the second is to manually create it within the platform. In this quick guide, we will show you how to create these deals in DV360.
For both cases, you will need to share your partner or seat ID (the ID of your account) with the publisher beforehand. Additionally, unlike PMPs, a Programmatic Guaranteed deal involves a negotiation between you and the publisher, where you agree on the total number of impressions, fixed CPM bid, total budget, and flight duration. Make sure you have a clear understanding of these details before you create or accept the deal.
Now, let’s explore the two different options you have for creating these deals in DV360.
- MANUALLY CREATE THE DEAL
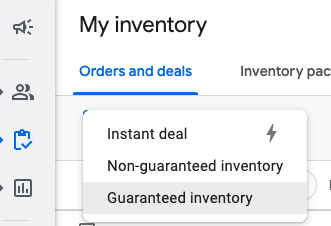
- Go to the Partner account > Inventory > My Inventory > New > Guaranteed Inventory
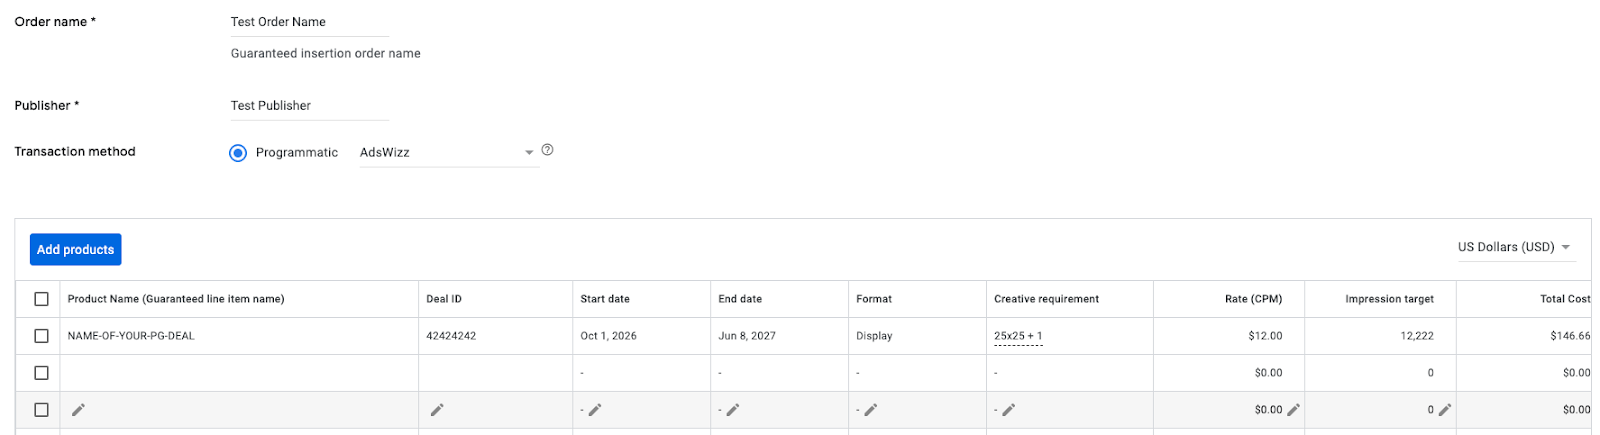
- In this section, you will need to add the order name, which is essentially the name of the insertion order that you can assign to identify this negotiation, along with the publisher’s name and the ad exchange.
- You will also need to input the name of your line item, the deal ID, start and end dates, formats and sizes, the CPM rate, and the total impressions.
- By default, DV360 calculates the total cost for you, so you can see the total cost of the deal.
- IMPORTANT: All this information is provided by the publisher, and you cannot input any information that has not been validated or approved by the publisher. If you enter a wrong value, you will need to re-create the PG deal.
- The partner cost section refers to the tech fee you pay to the platform and any other associated fees. If you are unsure about this, you can check the total billable cost, which reflects the total amount you will pay for your campaign.
- In the campaign section, you will need to select the campaign where you want to place this new PG insertion order. If you don’t have a campaign, you will need to create one. There is no need to add any insertion orders (IOs) since you are adding them manually in this section.
- Add the creatives you want to use for this PG order.
- Creatives coming from CM360 can take up to 8 hours to appear here, so make sure to upload your creatives before creating this PG order.
- You can only select the creatives you specified in the previous section.
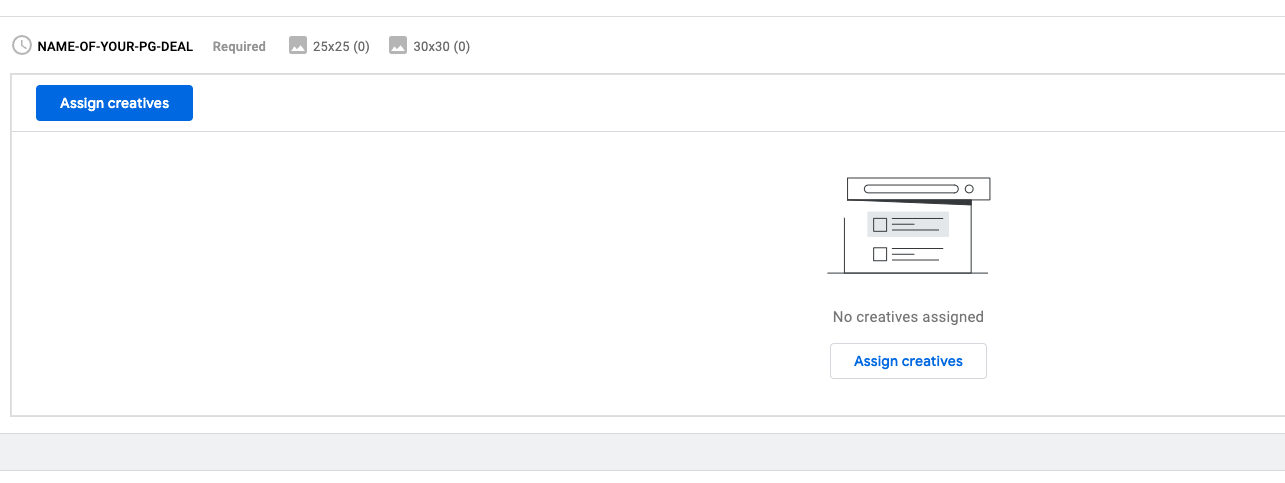
After assigning the creatives, the only thing left to do is to verify the PG details and save the order.
- ACCEPT A DEAL PUSHED TO YOUR ACCOUNT
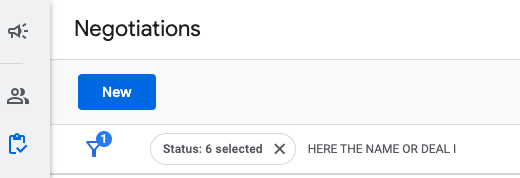
- Go to the Partner account > My Inventory > Negotiations. In this section, you will see all the deals that are awaiting your action. By this point, you should have received the deal ID and deal name from your publisher, which you can use to locate the PG deal in your account.
- Once you find the deal, you can choose to click “Accept,” reply, or cancel the negotiation.
- If you accept the deal, go to Inventory > My Inventory and look for the deal you just accepted.
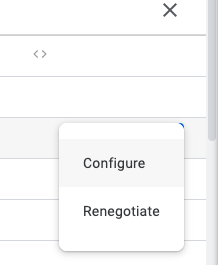
- When you find your deal in the My Inventory section, hover over the deal, and you will see the “Actions” option to the right of the screen. By clicking that option, you will be able to add the creatives, assign the campaign, and save your new IO.
If you want to boost your productivity and have a programmatic ad copilot, we recommend checking out our Chrome Extension, AdsCopilot. It provides a digital ads assistant 24/7 to help you with tasks like this and much more.